OBS Blind: Chapter 1 — Getting to Know the Program
Hello, dear reader of this humble opus!
If you’ve decided to open this guide, it means there’s a spark of creativity inside you that can’t wait to burst out with ideas and bring all sorts of interesting content to life. Or maybe you’re just taking your first steps and simply want to try something new?
Either way, this guide will help you grasp the basics of working with this truly versatile piece of software. Once upon a time — way back in 2016 — yours truly took the same leap and started channels on YouTube and Twitch. Naturally, the first question was: how do I record videos and stream? I went through all kinds of software, since back then we didn’t yet have the PlayStation 5 with its handy “stream or record” options available at the press of a couple of buttons. In the end, I chose OBS — and, to my pleasant surprise, it turned out to be quite accessible for our beloved screen readers.
Now it’s time to share that experience with you, so that more and more blind content creators can emerge — showing the world the incredible potential of blind people. That we’re gamers too, that we can make music, become professionals in cooking, teach other blind folks useful skills, share life experience, and do so much more.
What Is OBS, and Why Does a Blind User Need It?
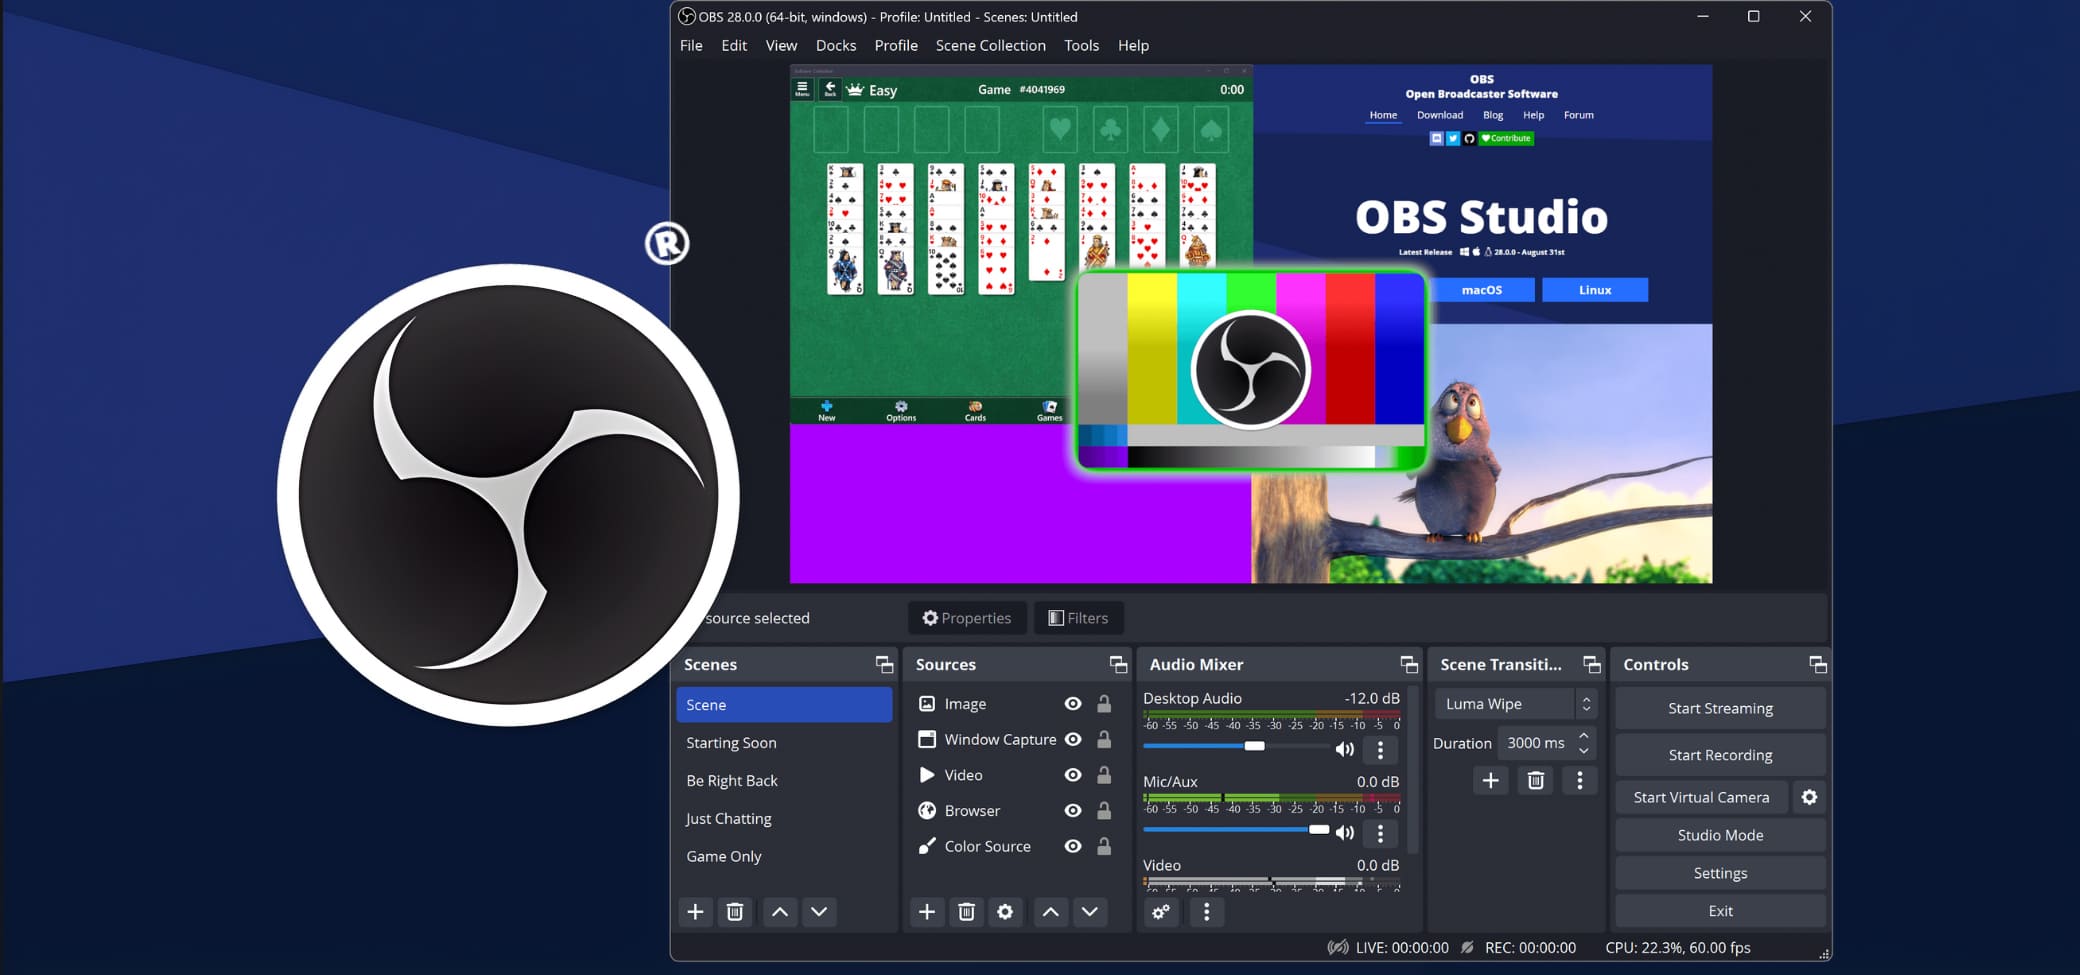
OBS Studio (Open Broadcaster Software) is a program for screen recording and live streaming — a powerful tool packed with possibilities that go far beyond simple broadcasting. The app can be endlessly customized with Lua scripts, plugins, and external APIs.
OBS is completely free, supports many languages, and its interface works quite well with screen readers. You can download the latest version for your operating system at:
Useful Features of OBS for Blind Users
- Podcasts with advanced mixing — control multiple microphones, effects, and volume levels.
- Hotkeys for everything — full keyboard control (start, stop, switch, etc.).
- Audio filters for privacy — automatic background noise removal.
- Lectures with audio slides — voiceover support for presentation text.
- Accessible webinars — audio-only streaming + TTS integration for chat.
- Live audio performances — connect musical instruments like electric guitars, synthesizers, or any device through your sound card; with a good mic, even acoustic instruments can be captured.
- Audio and video blogging — with just a couple of keystrokes, a blind creator can record everything happening on screen or around them using a camera.
Installing the Program
Installation is straightforward and doesn’t require any special knowledge. Just launch the installer and keep pressing “Next.” You can optionally change installation parameters such as the folder path.
Upon first launch, OBS will:
- Automatically switch to your system language.
- Offer to run the “Auto-Configuration Wizard.”
Important note about the Wizard:
It can be useful for beginners, but its settings are quite general. Experienced users often prefer to configure the program manually for better precision and to avoid later corrections.
Getting Familiar with the Interface
At the time of writing this guide, the current version of OBS is 32. Future updates may slightly change the interface or functionality, but it’s unlikely that any major structural changes will occur.
You can think of the OBS window as a virtual canvas, where all the elements of your future broadcast — sources, cameras, images, text, and more — are placed. It’s essentially your creative workspace, where the visual part of your stream comes to life.
Sighted users can freely move these objects around the canvas, resizing and repositioning them. Unfortunately, this part of the functionality remains inaccessible for blind users. So if precise visual layout matters to you, it’s worth asking a sighted assistant for help.
When you first open the interface, the focus lands on the zoom buttons — not very useful to us, honestly. We’ll be navigating through the program with the TAB key. The next element is a combo box for selecting the canvas, or you can set it to match the window size.
Now let’s take a guided walk through each visible section of the interface using the TAB key and discuss what each control element does.
Tab 1: Scenes Area
This is where you manage your scenes — the layout that your viewers will see during a live broadcast or video recording.
Here, your audio tracks, video feeds, voice inputs, and sound effects come together into a single stream.
You can have as many scenes as you want — for different purposes or conditions — and easily switch between them without interrupting your broadcast or recording.
Tab 2: Sources Area
This is where all the components of your stream are added — like assembling pieces of a Lego set: microphone input, audio tracks from a player, sound effects, window or app captures, text, images, and so on.
Tab 3: Audio Mixer Area
This section manages the advanced settings of your connected audio devices and streams.
Tabs 4, 5, and 6: Transition Settings
These panels control transitions between scenes. I’m not entirely sure how useful they are for a blind user, but the interface is highly customizable — you can hide any panels you don’t need.
Tab 7: Stream Control
This checkbox starts, pauses, or stops your internet broadcast. The stream itself is configured separately beforehand.
Tab 8: Local Recording Control
This checkbox starts or stops local video recording on your computer. Once recording begins, an extra button appears for pausing — allowing you to resume in the same file.
Tabs 9 & 10: Virtual Camera Controls
These buttons toggle the virtual camera and open its settings.
The virtual camera in OBS replaces your regular webcam feed with any other video or avatar — for example, a 2D or 3D character model.
It turns whatever you’ve built in your OBS scene into a “camera” you can select in Zoom, Discord, or any streaming software.
Once your scene is ready with all the desired video, audio, and visual elements, simply enable the virtual camera and select it in, say, Discord. Now people won’t see a tired hero after a night raid at the tavern — they’ll see a cheerful, well-prepared conversation partner.
Streaming via OBS’s virtual camera happens in real time with no delay.
Tab 11: Studio Mode
This button enables or disables Studio Mode — a kind of “draft workspace” for your stream.
Imagine you have two screens:
- Preview — where you build the next scene (change angles, add effects or sounds).
- Program — what your viewers currently see.
You can prepare complex transitions, check how they look (or sound), and then push them live with a single button — no pauses, no mishaps.
Tab 12: Settings Button
This button opens OBS’s main settings window.
Several following tabs manage visibility and locking of sources within the scene. These appear only when sources have been added.
Audio Mixer Details
Next, the focus lands on the audio mixer. Here you’ll find playback device properties, a “mute” checkbox, and a volume slider — though the slider can’t be moved with arrow keys. We’ll discuss later how to adjust the volume for different devices.
The same control order applies to all audio-producing sources.
It’s important to note that the playback capture device records all system audio — including your screen reader — but not your microphone. The mic must be configured separately.
We’ll go over methods to exclude the screen reader from your broadcast later.
The end of chapter 1
That brings us to the end of Chapter 1. Next, we’ll explore OBS settings and take our first steps toward creating some real content. See you soon on the waves of InviOcean.