World of Warcraft Retail: Character Creation and Accessibility Tools – Part 2
In the first part of our comprehensive guide, we downloaded and installed all the necessary add-ons. Now it’s time to launch the game again and create our first character.
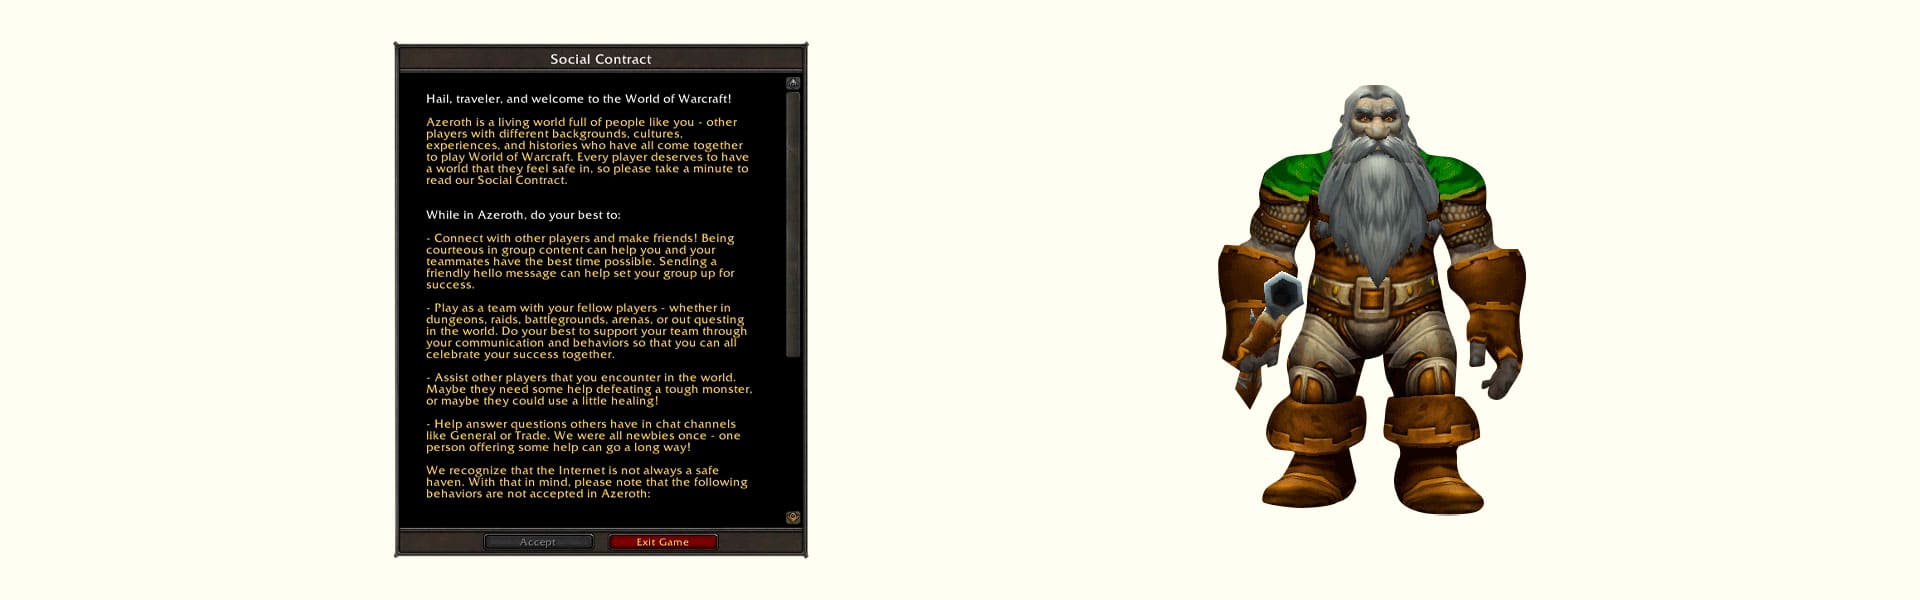
The first thing you’ll encounter on the screen is the social contract. This is a set of behavioral rules you must agree to once when interacting with other players. It may reappear after major patches. Note that the “Accept” button won’t activate until you scroll through the entire contract with the mouse wheel. To read the social contract, OCR is required.
There are several ways to interact with the login screen; let’s start with the simplest one.
WoW Login Tool
This is a special script created by the development team for the accessibility add-on for classic WoW. Recently updated, it is now compatible with the current version of the game.
The latest version of the script can be found here:
You will need the AutoHotkey program, which can be downloaded here:
This tool is a unified solution for all three available versions of the game for blind players. It allows easy server selection, character creation and deletion, and control over which character to enter the game with. It also automates the acceptance of the social contract.
The Login tool comes with instructions in the archive, but here are the basic setup steps to help you start quickly after reading:
Setting up the tool:

1. Open the “CopyTheContentOfThisFolderToInterface” folder in the WoW Login Tool folder you downloaded. There should be 5 folders in this folder (“BUTTONS”, “DialogFrame”, etc.).
2. Copy all 5 folders.
3. Browse to the WoW game files. Depending on your setup, this could be “C:\Program Files (x86)\World of Warcraft”.
4. In the WoW game files, open the folder for the version of the game you want to play:
For Wrath of the Lich King, open “_classic_”
For Retail open “_retail_”
For Classic Era open “_classic_era_”
5. Inside this folder, open the Interface folder.
6. Paste the 5 folders you copied in step 2 into the Interface folder. Important: overwrite any existing files and folders!
7. Run the tool: Go to your WoW Login Tool folder and run the file named START.ahk.
8. There will be a setup on the first start. Choose the correct settings and follow the instructions.
Method 2: Golden Cursor
Golden Cursor is a special add-on for the NVDA screen reader that allows you to control the mouse cursor using the keyboard and save specific cursor positions to files. These files can then be used to click on specific coordinates.
You can get the add-on here:
https://addons.nvda-project.org/addons/goldenCursor.en.html
After installing the add-on, visit the Blindslash Discord server and download the appropriate GC file for your monitor resolution from the login screen channel. Place this file in the following directory:
C:\Users\YourUserName\AppData\Roaming\nvda\addons\goldenCursor\mousePositions
You may need to create the mousePositions folder manually. Rename the file to wow.gc, removing any resolution numbers.
On the login screen, press Control+NVDA+L to open the list of saved mouse positions for this window.
Use the arrow keys to navigate and press Enter to move the mouse to the desired menu item.
Server Selection
After accepting the social contract, you need to select a game server. Initially, you are placed in a random game world, which affects guild choices and the auction house. It’s advisable to choose active servers to ensure a vibrant auction house and quick dungeon and raid group formations.
New Character

In World of Warcraft, there are two opposing factions: the Alliance and the Horde. Both factions have complex moralities, often described as “grey morality.” Choosing a faction and race is based on your preferences. Information about Alliance and Horde races can be found here:
https://www.wowhead.com/guide/new-players/horde-race-overview
https://www.wowhead.com/guide/new-players/alliance-race-overview
Class Selection

After choosing a faction, select your character class. While no class is unplayable for blind players, some might be more challenging for beginners, such as mages or druids.
The easiest classes to master might be the hunter, who has a pet that assists in combat and deals significant ranged damage, and the paladin, who boasts high survivability and self-healing capabilities. However, it’s ultimately your choice, and you’re free to experiment with different classes that appeal to you.
Final Steps
The last steps involve choosing your character’s gender, appearance, and name. Unfortunately, the appearance selection screen is completely inaccessible, but don’t worry—initial settings always generate a random appearance. You can change the appearance anytime in the barbershops within the game world, perhaps with the help of a sighted friend.
Next, select your character’s starting location. Initially, only Exile’s Reach will be available, which introduces the basics of the game through a storyline. After completing this area once, you can choose between Exile’s Reach or a racial starting zone for subsequent characters, depending on your hero’s faction and race.
Finally, choose a name for your character. Enter the name in the designated field using only letters and press Enter. If no message appears saying the character is created, the name is either taken or invalid; try entering a new name and press Enter again.
This entire process is guided by the login tool, ensuring smooth navigation without any issues.
This concludes the character creation stage. In the third part of our guide, we will explore the most essential accessibility settings and begin our adventure in World of Warcraft’s tutorial zone. See you next time!